Wave Gotik Treffen is coming up and I need something new and pretty to wear! I have 2 outfits planned, both of them with a corset, and while waiting for supplies to arrive I spontaneously added a matching neck corset to one of the outfits.
I had expected having to draft my own pattern but when googling for instructions I quickly came across this pattern by Ralph Pink. Buying, downloading and printing it took me barely 10 minutes.
The PDF instructions describe in detail how to set up your printer to print the pattern in the correct size, as well as how to cut the pattern pieces. An introduction to all sewing techniques you would need is also included and all steps are illustrated with very clear computer drawings.
The instructions require you to cut 3 sets of pattern pieces: 2 sets out of the strength layer (coutil), 1 set out of the fashion fabric.
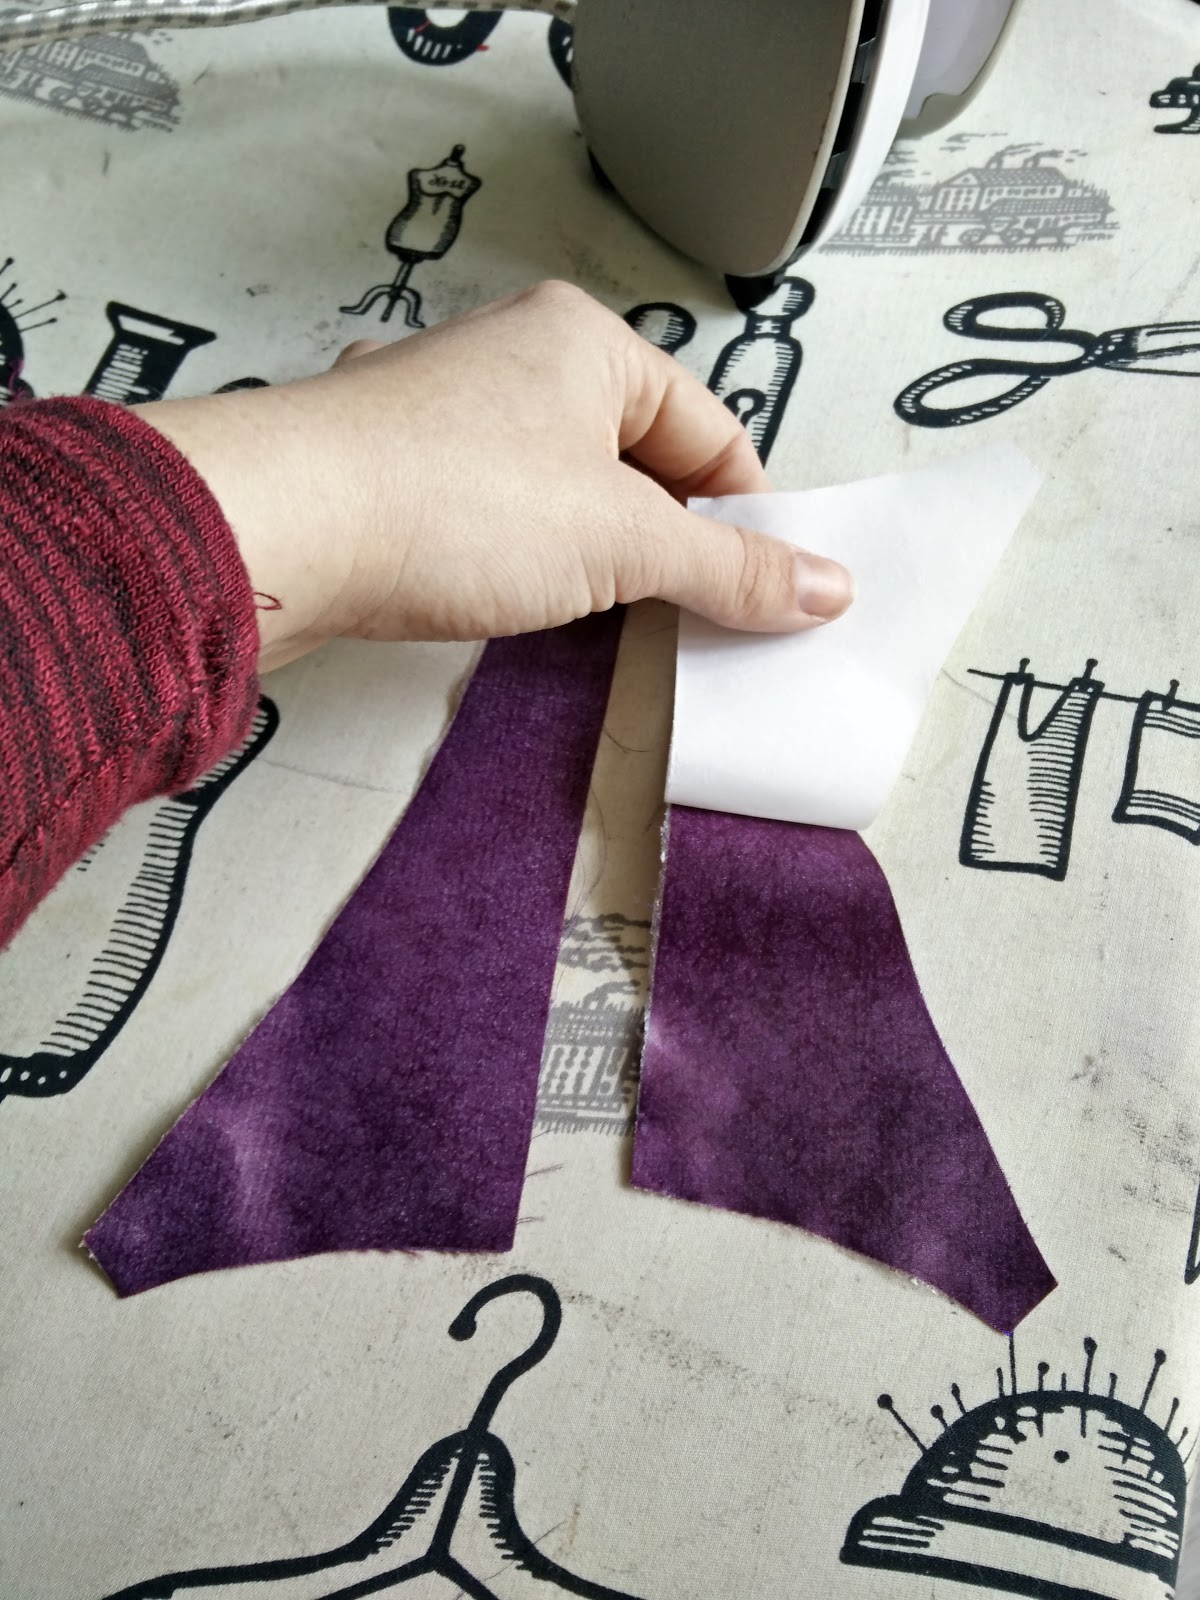
According to the instructions the fashion fabric should then be padstitched onto one set of the strength layer pieces - but as padstitching is a lot of work and I cannot really imagine doing it with a fabric as thin as silk taffeta, I reverted to my usual method of joining fabric layers for corsets: I used Vliesofix, which is a sort of double-sided fusible interfacing usually used for appliqués. It comes mounted on paper and is first ironed onto the fabric, then the paper is removed and leaves behind an adhesive layer on the fabric. With this adhesive layer the fabric can then be ironed onto another fabric.
 |
| Fashion fabric after I had ironed on some of the Vliesofix parts. |
 |
| When you remove the paper, a rubber-like layer stays behind on the fabric |
 |
| Prepared pattern pieces. |
The pattern has only 0.5cm seam allowance included, which I personally find a little fiddly to work with, but as I was too lazy to add additional seam allowance that was what I worked with.
 |
| First look after I had joined the individual layers |
 |
| Complete with boning channels |
Next, to match the corset I was going to make, I handstitched lace to the corset.

And finally I finished everything off with bias binding, added the grommets and laced it up.


You can maybe see in the pictures that it turned out a little too high around the neck - I hope that won't give me any sores in the long run and I also hope that the boning in the front maybe bends a little more over time, so that it gets more comfortable.
All in all, I can only recommend this sewing pattern. The shape is a little more unusual than most neck corsets I found online and can be adapted for a variety of designs. I found pictures of some versions in leather that also looked very good.
With a price of 9€ some people may consider it to be a bit on the pricy side for such a small project. I still think it was worth it - I really like the way it turned out and it did save me some time for pattern drafting and having to think about construction myself.
Next up: the matching overbust corset. Stay tuned...